
Bulk Assign Users to a Group allows Admins to assign multiple users to a Group in a single action, eliminating the need to update users individually. This saves time when managing group memberships and makes it easier to send invitations in bulk by using Groups as the target audience.
How to Bulk Assign Users to Groups
1. Go to Admin Dashboard > Curricula > Group Manager.
2. Create a New Group or update an existing one.
3. On the Edit Group page, click on Bulk User Assignment to Groups.
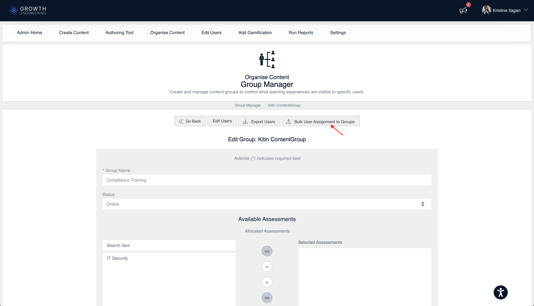
4. Download a template to be used for uploading users.
5. On the template, there are three fields that can be used to upload users:
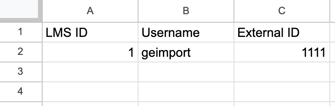
- LMS User ID
- Username
- External ID
Important: Fill out any field, and make sure to save the file as CSV.
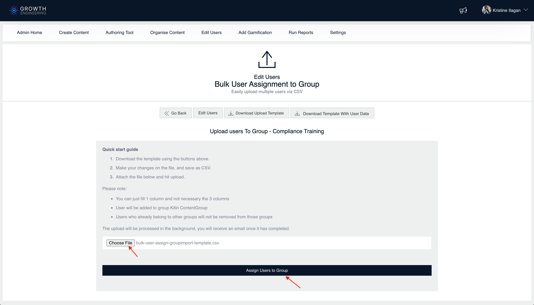
6. Click on Choose File, and upload the CSV, then click on Assign Users to Group.
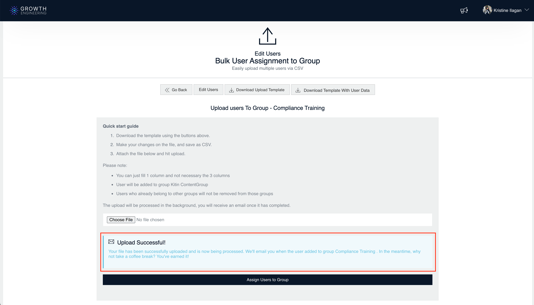
7. A message will appear saying the upload was successful and you will receive an email once the group assignment has been completed.
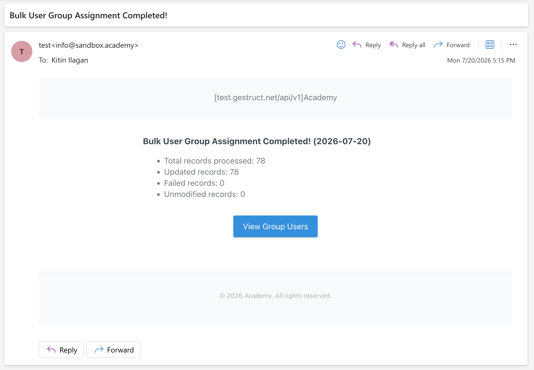
Note: The email will show the total records processed. If there is a Failed record, refer to the attached CSV file for the details.
8. Click View Group Users in the email to open the Edit Users Group page in the LMS, where you can verify the users that have been assigned to the Group.
Summary
You have successfully assigned users to a Group in bulk. Using Groups to organise users makes it easier to manage memberships and simplifies sending invitations and other group-based activities by allowing you to target Groups instead of selecting users individually.