Welcome to your step-by-step guide for using the new Curriculum Builder UI within Growth Engineering LMS.
Our new UI was designed with speed, simplicity, and learner engagement in mind. Whether you're brand new to the platform or a long-standing member of our community, this quick guide will help you make the most of the new interface.
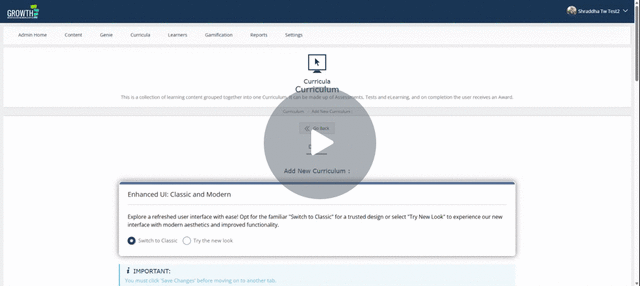
Check out the video below, or dive straight into our handy guide!
Welcome to the New UI Curriculum! 🚀 - Watch Video
👷 1. Accessing the Curriculum Builder
-
Log in to your LMS and navigate to the Admin Dashboard (or Admin Home)
-
Click on “Curricula”, then select “Curriculum”.
🛠️ 2. Using the New UI Builder
Once inside the new Curriculum Builder, you'll need to complete a few mandatory fields to get started:
-
Add a title and keywords for searchability (mandatory fields marked with an asterisk).
-
Optionally, upload an avatar image (128 x 128 pixels) for visual appeal. This will be displayed in the Learning Library.
-
Input the version number.
-
Choose a content delivery method
- Fixed order: Learners are required to complete content in a specific, predetermined sequence, with no option to skip ahead.
- Open order: Learners have the flexibility to access and complete content in any order they choose.
- Checkpoints: Learners must complete specified content before they can unlock and access subsequent sections or units.
- Enter a description and searchable keywords to enhance discoverability.
- If applicable, set an expiration date for the curriculum. This will automatically expire/offline the curriculum on the chosen day.
- Choose visibility options such as Open Access and Visible in library.
🔔 3. Notifications & Gamification
-
There is the option to enable email notifications for users when new content is added.
-
You can also notify line managers when a user completes the curriculum.
- Assign experience points, badges, or certificates for completion.
📂 4. Assign Access and Save
-
Assign the curriculum to specific Content Groups to help control learner access.
-
Select a library category. This will define under which category/sub-category the user will find this curriculum.
- Once all required fields are complete, click Save. You've now created the curriculum placeholder.
📂 5. Add Content to the Curriculum
-
Add content directly from the same page before or after saving.
- To find your content, simply type its name into the box, and the system will do the rest.
- If you're ready for learners to access your Curriculum, make sure the status is set to Online (top of page).
🎉 You’re All Set!
Congratulations! You’ve just created a curriculum using the new UI.
It’s faster, more intuitive, and designed to save you time while giving you more flexibility and control.
💡Tips for Efficiency
-
Familiarise yourself with the new interface to speed up the process.
-
Use clear and concise titles and descriptions to enhance searchability.
-
Ensure all mandatory fields are completed before saving to avoid errors.
-
Double-check the expiration date to prevent unintended unavailability of the curriculum.
-
Regularly review and update the curriculum to keep content relevant.
- Need more tips? Head here to access our Learning Pathways guide!