Creating categories can be completed in the admin panel.
Navigate to the Curricula > categories. Here you can see the list of current categories already created.
In order to create a new category, click on the +New Category button.

This will open up the category creation page.
Add in the category name (note that only 155 characters will be displayed) and choose Online/offline status.
Even if you set this category online, it will only display to the learner once the category has content assigned to it.
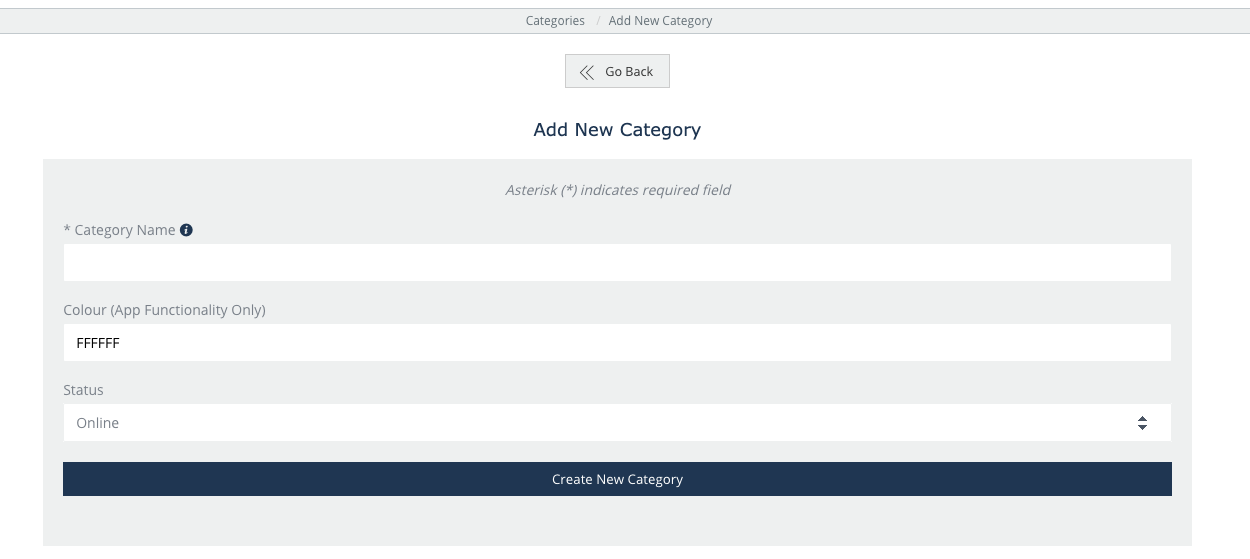
Click on the ‘Create New Category’, which will bring you back to the main menu.
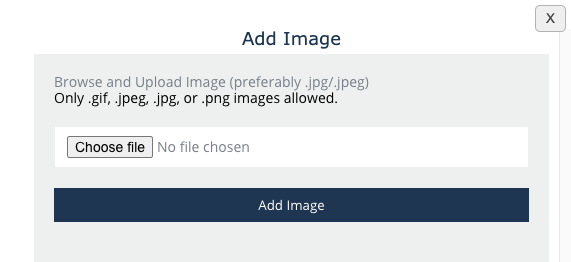
Now you can upload images for the category. There are two images - one for the LMS and for the App, which you can upload both the same image.
Click on the camera icon that allows you to choose the image you would like to use.
Once you have done this, your library category is ready to use. You can read next on how to create sub-categories and how to assign content to the categories.