What Are Clubs?
Do you know what our social features are?
Yes!... We do have the What’s Happening Wall, but we designed Clubs to encourage more socialising on LMS and App.
Admins can create Clubs on all sorts of subjects and allow access to different groups of people or make them available to all users. Users may then access Clubs from the LMS and the mobile app, so users can easily follow on all updates.
Setting Up Clubs
Here are some steps to follow in creating Clubs:
Clubs are created by the platform administrators from the Admin Dashboard> Clubs section.

2. The admin will click on the “Add New Club” button to add a new club, and the club creation page will open.
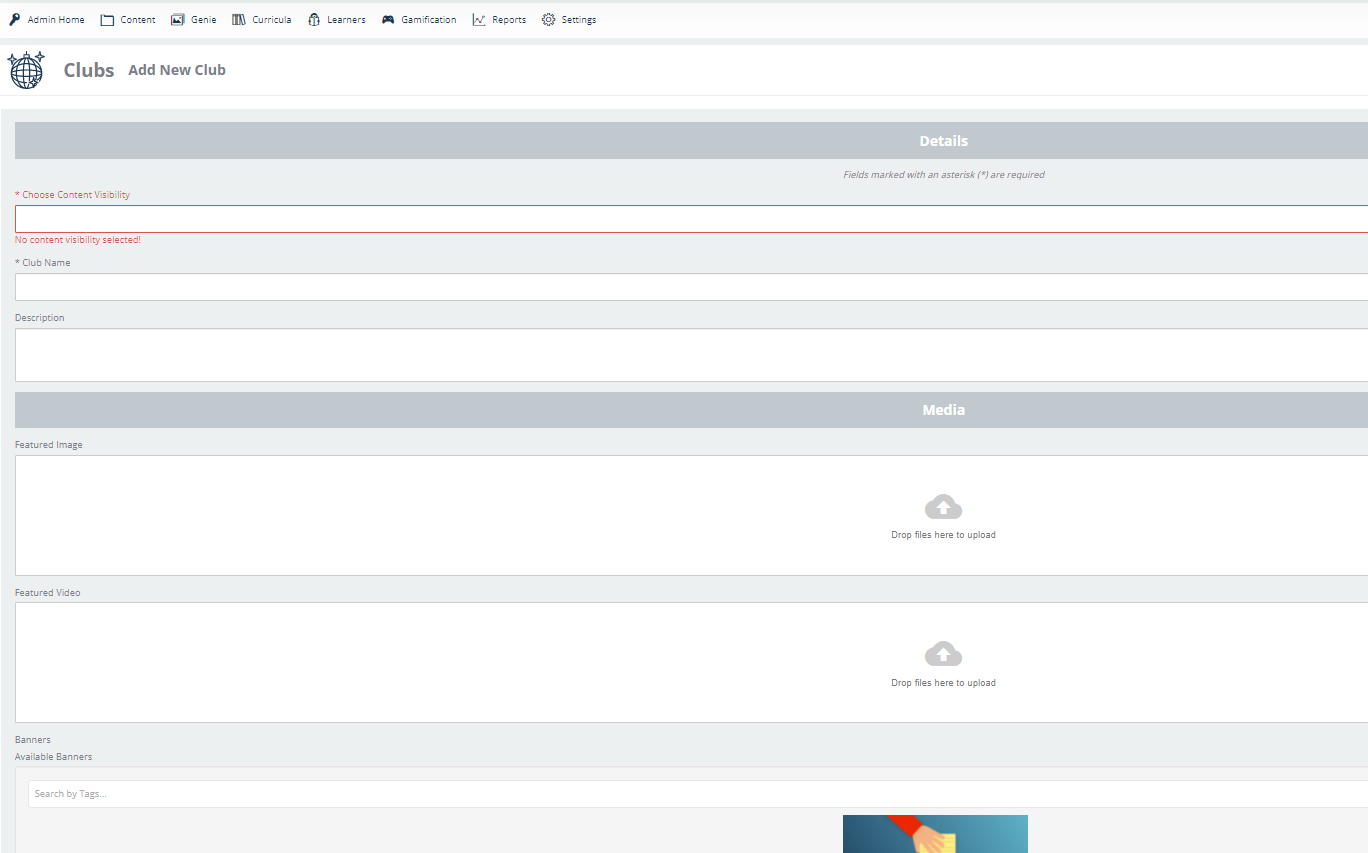
3. Depending on your preferences and business needs, Clubs' visibility can be set by hierarchy or content group, meaning that the new club will only be visible to all learners of the selected hierarchy or by all learners of the chosen content groups.

NOTE:
Only one hierarchy can be selected per club, but multiple content groups can be chosen.
4. The next step is to enter the club’s name and a description in the dedicated box.

5. The Media section is formed of:
The featured image is the Club image visible on the LMS and makes the App club icon.
Featured Video is visible on the App
Banners: Selected Banners are visible on the App

6. The Banners area is where to upload images to use as banners for the club. The club can select one or multiple banners from the “Available banners” section.
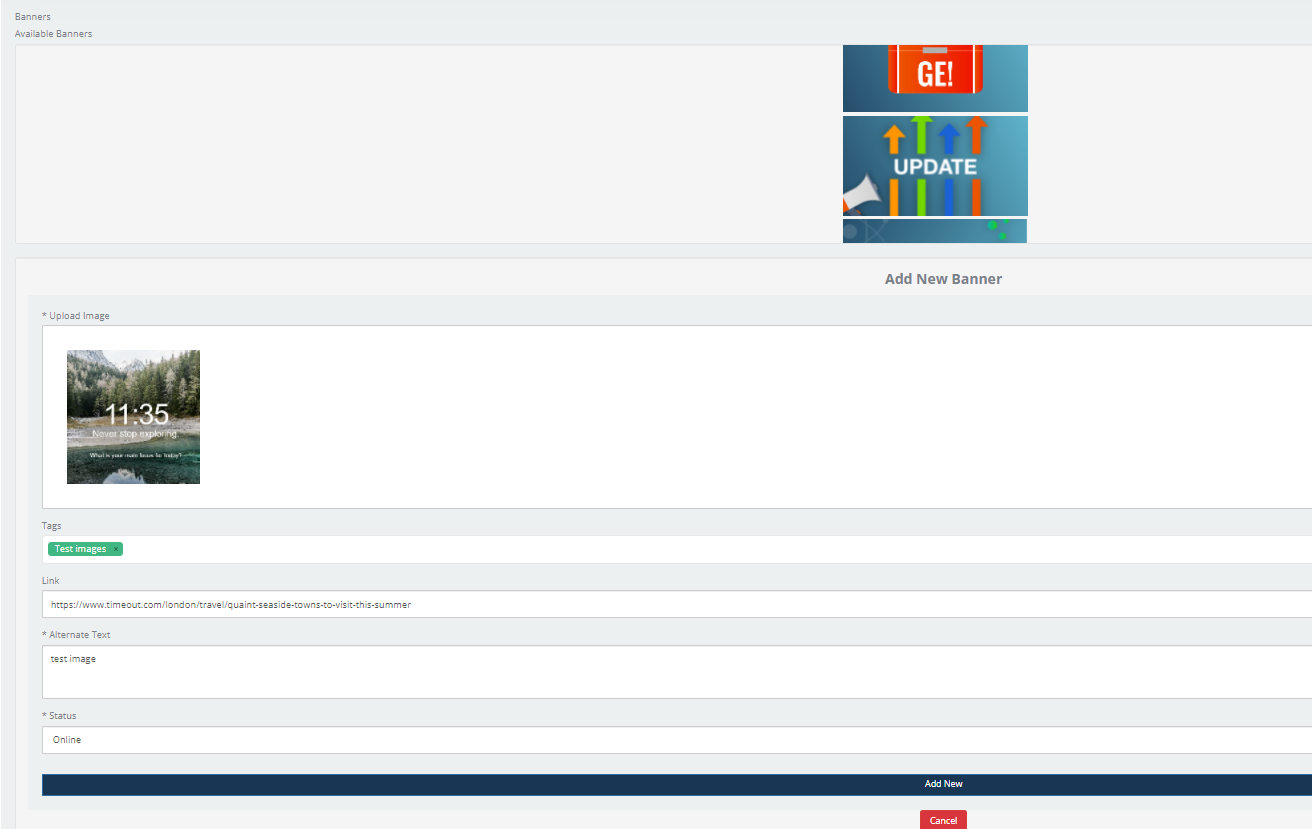
7. If you wish to redirect the user to an external link via the banner, you can enter the link into the “Link” box.
8. If you have the colour codes, you can enter them in the available boxes (Primary, Secondary, Highlight colour).
There is the option to click on the little coloured square and the colour palette window will show.

9. Maybe you need to have Clubs in different languages. The default language is English, but in the language section, you can set the club to be in French or any other language available in the drop-down list.

10. The configuration section is where you can add different permissions to the Club you are just creating.
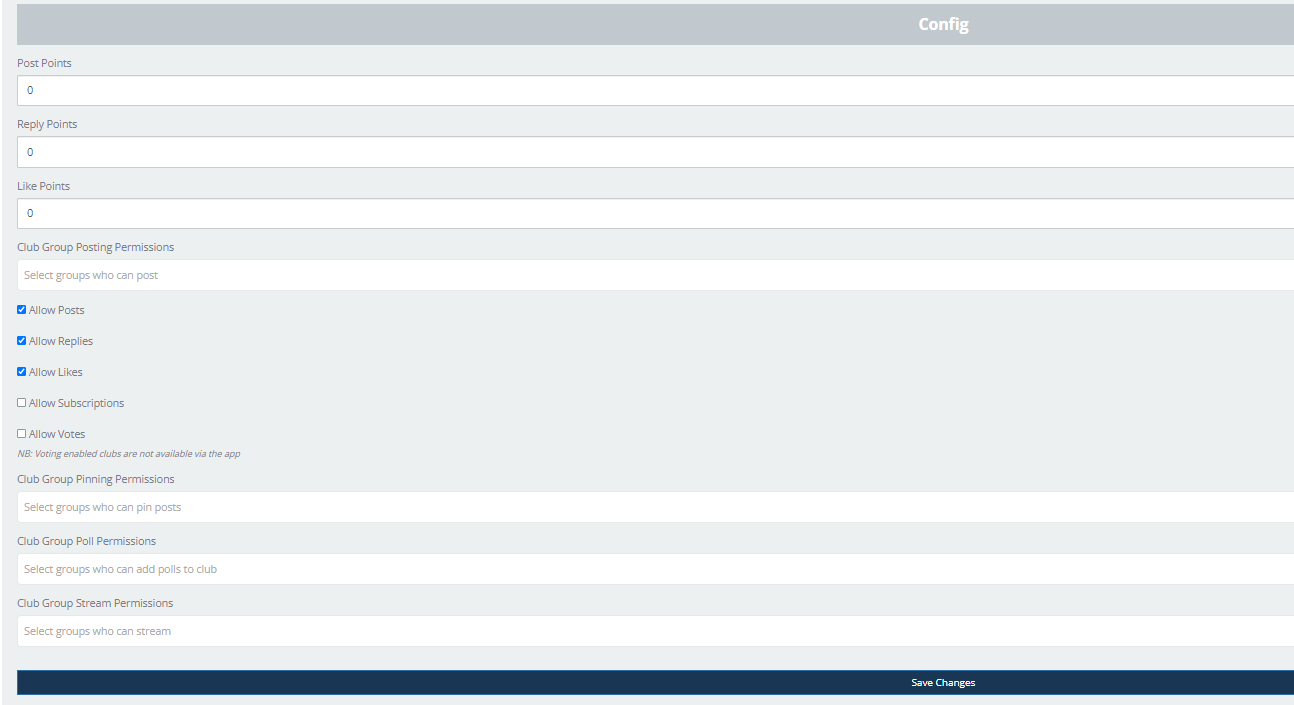
Points: Points can be allocated for posts, reply to posts or liking posts. The points entered in this section are only valid for this Club.
Example:
-Post Points: 20
-Reply Points: 10
-Like Points: 5
Permissions based on Content Group: If only content group A is selected, only learners with access to this content group will see the club in the Clubs area. If the options “Allow Posts”,” Allow Replies”, “Allow Likes”, and “Allow Subscriptions” are selected, only the users from content group A will be allowed to perform those actions.
Allowing votes means the Club you create will transform into a “Voting Club”. Unfortunately, those clubs are only available on the LMS and not on the APP.
NOTE:
Voting clubs' posts are not in chronological order as the rest of the posts from other clubs. In Voting Clubs, the order works on a most liked again most disliked functionality
7likes and six dislikes = 1
Five likes and two dislikes = 3
So the one with a score of 3 would sit at the top
The “Pinning Permissions” box selects the content group that you allow to pin posts in the club. If left empty, none of the learners will have the option to pin posts.
The “Poll permissions”-This option is only available on the App, and only the users belonging to the Content Group entered into the Poll permission box will be allowed to post.
The “Stream permissions”- Allowing groups of users to use Clubs for live streaming. This is a new feature that will be firstly available on the App.
11. The final step in creating a new club is to click on the “Add New” button.
Please note that the confirmation shows at the top, so at this point, you might want to scroll to the top to see that happen.
ACCESSING CLUBS
Clubs is the socialising feature that can be accessed from the LMS and the App on your mobile device.
Accessing Clubs from the LMS
Learners can find Clubs on the sidebar menu. Clicking on the icon, the Clubs list they have access to will appear on the right.
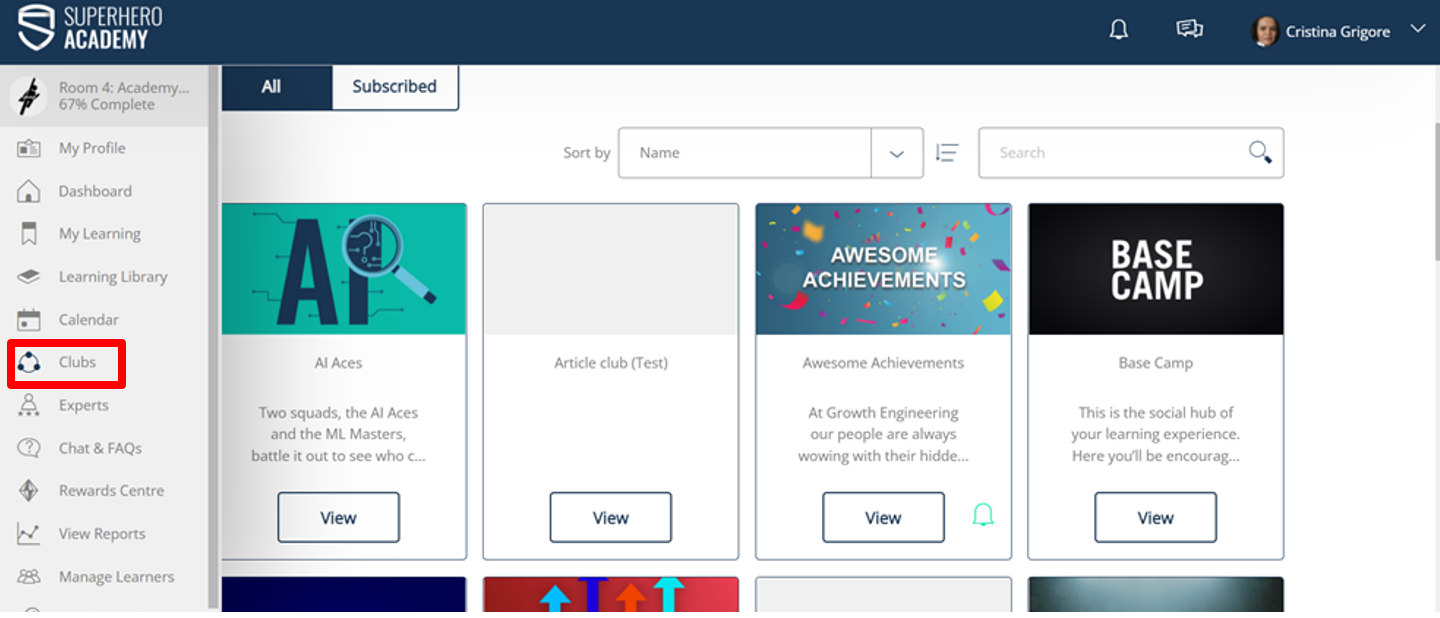
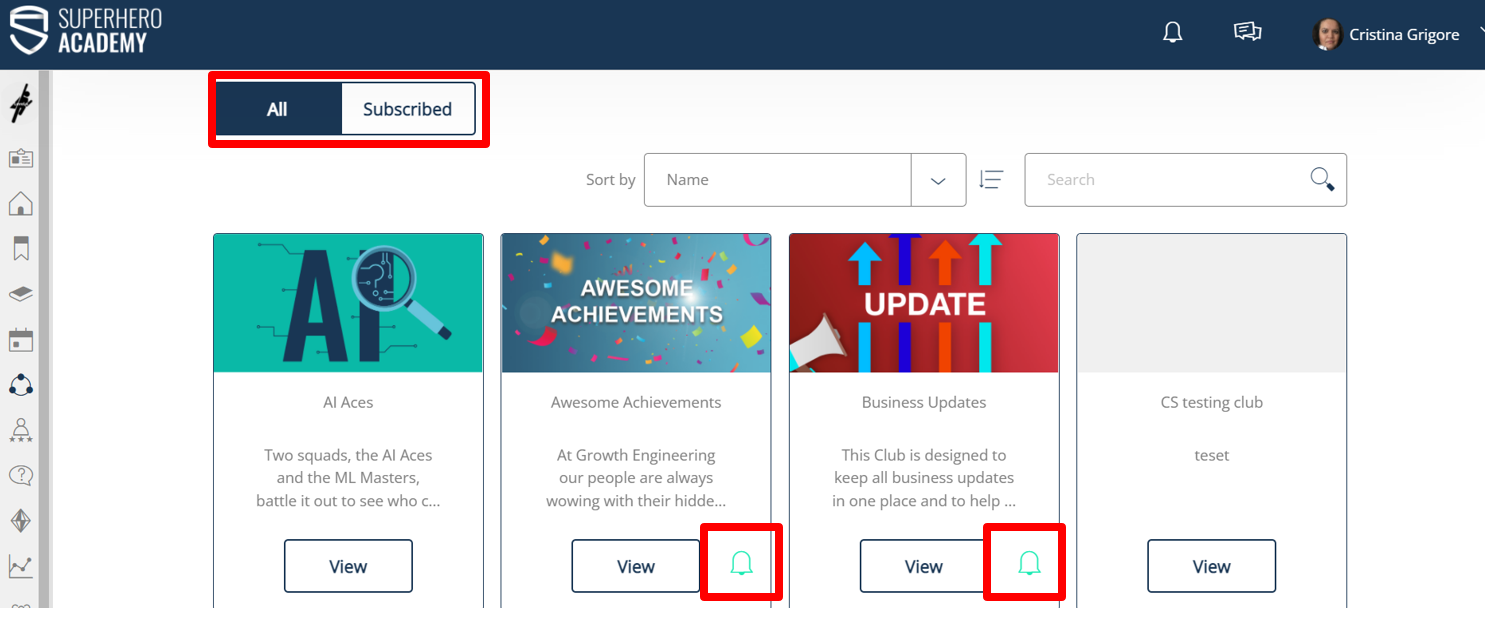
There is the option to view “All” clubs or filter by the “Subscribed ones.
The users may subscribe to clubs if they are interested in getting updates and app notifications whenever there is an activity within the club.
Subscribed clubs have a bell on the right side of the “View “ button to quickly identify the ones you already have on your Subscribed section.
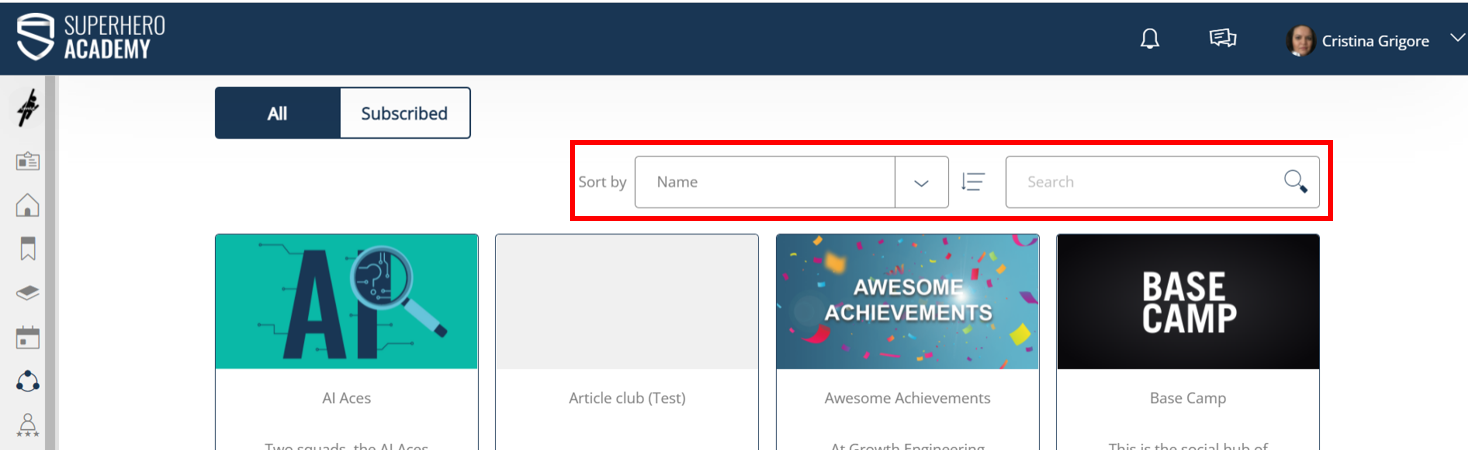
To help the learners find the Clubs they’re looking for, there is a “Sort by name” and “Search” functionality.
2. Accessing Clubs from the mobile App
When opening the App, the learner will land on the Home page.
From there, the learner can navigate to the different tabs available on the bottom part of the screen.
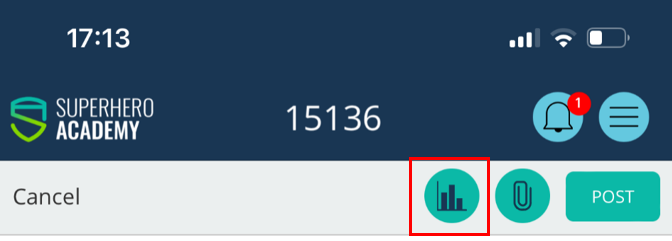
In the images below, highlighted in red, you can see that the Clubs section is found under the speech bubble icon. In addition, there is a list of all clubs the learner has access to.
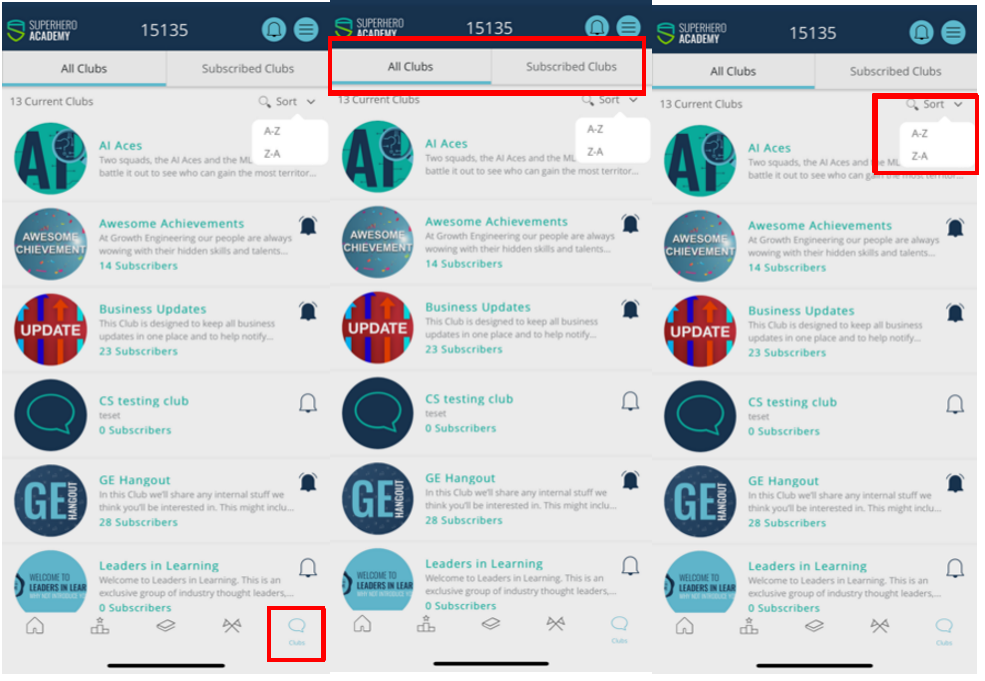
There are two separate sections/tabs for “All Clubs” and the clubs the learner subscribed to (Subscribed Clubs). This makes it easier for the learners to navigate and find the clubs they are interested in.
The 3rd image demonstrates where the user can sort or search the clubs' list.
At the top is the club banner and below is the “Subscribe” button so the learners are able to subscribe if are interested in getting App notifications about new posts in this club.
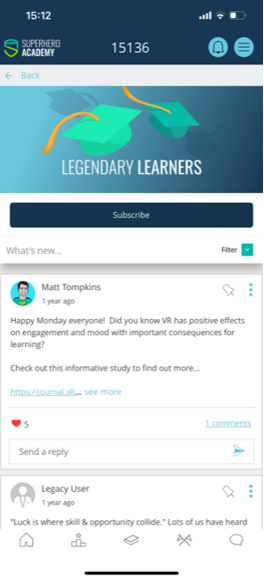
Depending on how the club has been set up by the admin, learners may have the option to:
· post
· to reply to posts
· to like posts
· to pin posts
· to stream